Content status
| Last checked | 2026-07-07 |
|---|---|
| Confidence | Moderate pre-launch editorial analysis |
| Source type | Public sources, official media, and guide-site observation |
| After launch | Yes: refresh after official patch notes, launch data, or new public footage. |
The best first weapon is not always the highest damage option. In a floating arena shooter, the first weapon to learn is the one that works across bridges, platform edges, rooftops, and emergency rotations.
Mid-range rifles are the safest learning category because they let players participate in most fights without overcommitting. They also teach recoil, tracking, cover timing, and when to stop shooting so the squad can move.
The first learning test is consistency. If a weapon lets you damage enemies on bridge entrances, rooftop edges, and short platform trades without changing your whole route, it deserves priority. A flashy weapon that only works after a perfect engage can wait until the player understands how fights actually start.
Close-pressure weapons become valuable when an Awakener can force a room fight, bridge collapse, or short-angle punish. Without route control, close weapons can trap new players in fights they cannot exit.
A close-pressure weapon should be paired with a plan, not just confidence. Who opens the angle? Which cooldown gets saved for the exit? Who covers the reload? If those answers are missing, the weapon can make the squad feel aggressive while quietly removing every safe reset option.
Long sightline weapons should be studied after map knowledge improves. They can control a platform, punish exposed bridges, or protect revives, but they lose value when the squad gets collapsed on from a blind route.
Long-range pressure is most useful when the squad agrees that one player is anchoring rather than looting or chasing. The anchor should call crossings, cover revives, and stop enemies from walking into the team's escape lane. If the squad cannot protect that anchor, long sightlines become isolated damage instead of map control.
A strong weapon learning plan should include one default carry, one emergency close-range answer, and one squad-specific specialty. The default carry keeps the player useful in most fights. The close-range answer prevents panic when a route collapses. The specialty supports a chosen Awakener role.
Gun-Chip choices should follow the same order. Before launch, avoid claiming a final best chip. After launch, test reliability first: recoil control, swap speed, reload exposure, ammo pressure, and whether the build still works when the route changes. Burst experiments are more useful after the player can survive normal fights.
For solo queue, choose weapons that forgive incomplete communication. For coordinated squads, choose one player to specialize more heavily while the others carry flexible tools. The best weapon is different when nobody talks, when two players trade properly, and when a full team can plan a bridge collapse in advance.
After launch, this page should become a weapon learning ladder with recoil notes, useful ranges, best map situations, Gun-Chip pairings, and whether the weapon is friendly for solo queue or coordinated squads.
| Guide angle | Practical recommendation | Why it matters |
|---|---|---|
| First weapon type | Use a mid-range rifle or equivalent flexible option. | It covers bridges, rooftops, and platform edges without forcing overcommitment. |
| Second weapon type | Add close pressure after you can control entry routes. | Close weapons need map timing more than raw confidence. |
| Advanced weapon type | Study long sightlines only when the squad can protect anchors. | Anchors are strong until a second team collapses the route. |
Action checklist
- Learn a mid-range rifle before specialized weapons.
- Use close-pressure weapons only when the route is controlled.
- Pick long sightline weapons when your squad can protect anchors.
Search intent answer
Fate Trigger best weapons searchers usually need a direct answer first, then a practical decision framework. For Fate Trigger, this page treats public footage, store data, and official-channel signals as planning material rather than final balance proof. Use the checklist and table below to decide what to test first, then revisit the page after launch updates or new patch notes.
Related database entries
Video evidence to review
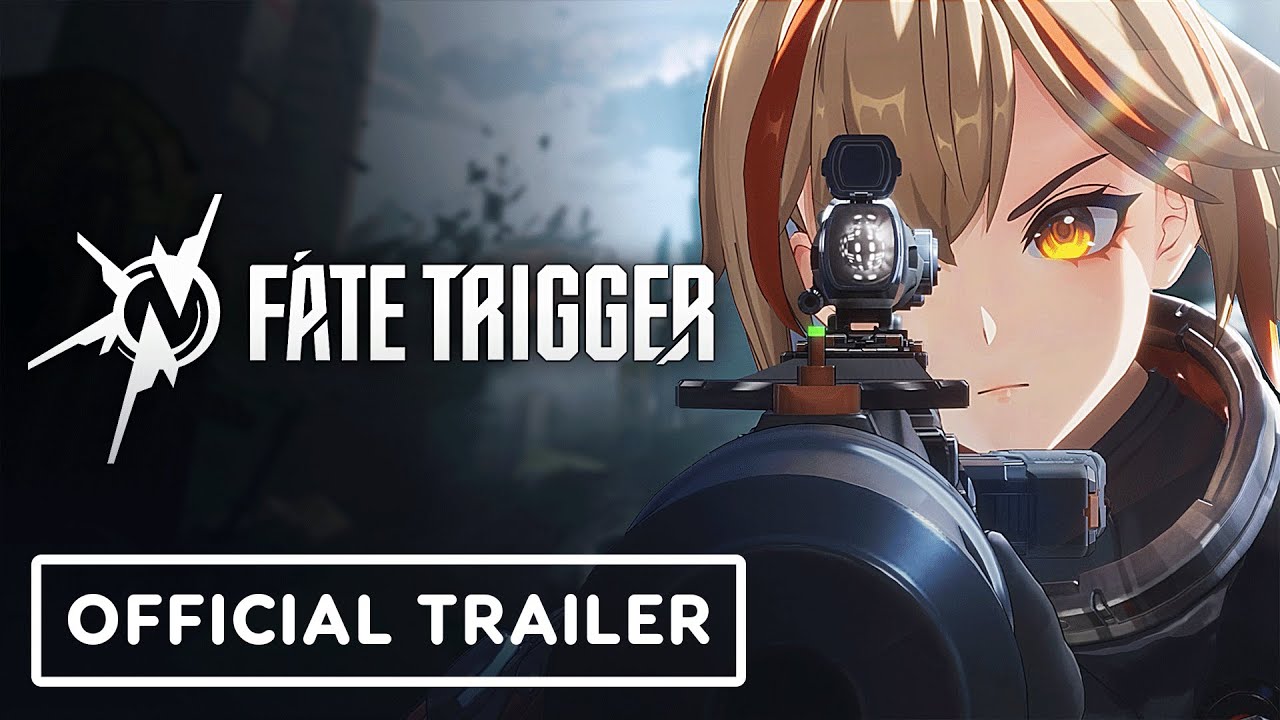
Start with Official Trailer in the media hub and compare the visible UI, movement, combat pacing, and release-date cards against this guide. The embed is credited and loaded from YouTube.
Update checklist
- Replace cautious pre-launch language when an official patch note, class page, weapon page, or map page confirms the detail.
- Add timestamped video references only from embeddable public footage or credited source material.
- Keep rankings editorial and date-stamped so players can tell analysis from official balance information.